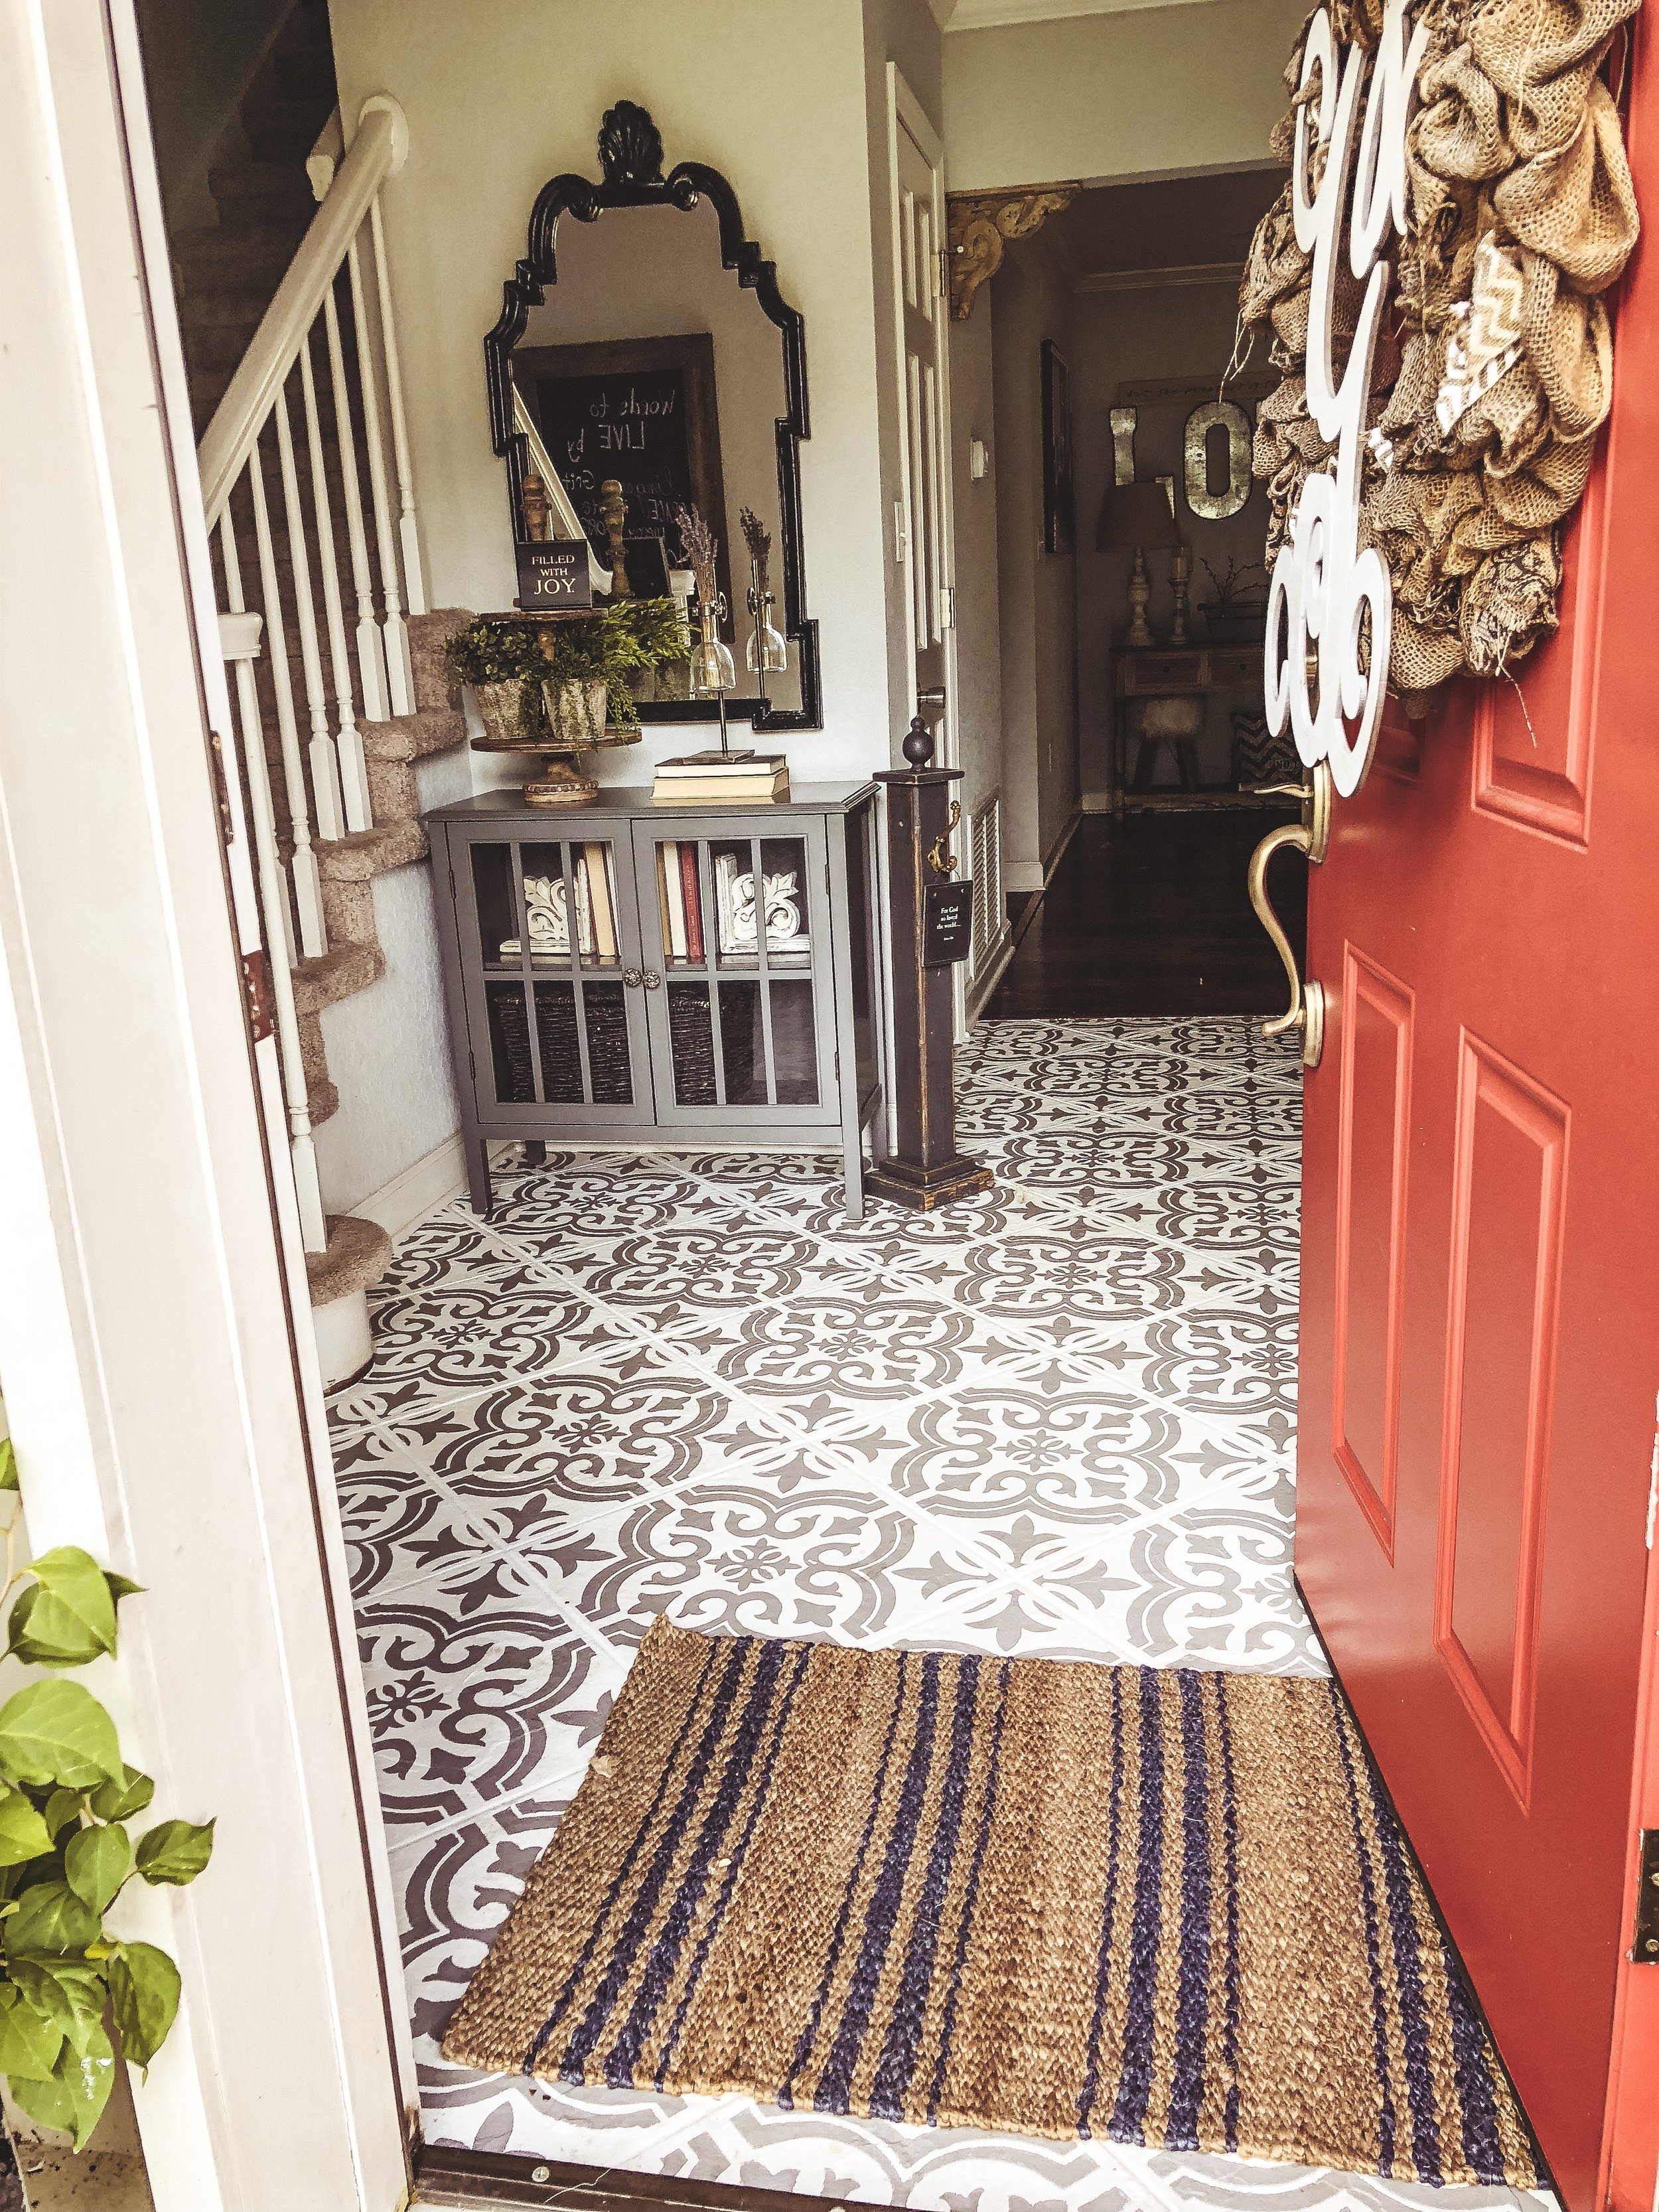
PAINTED FLOOR: Stenciled Tile
I am going to share an unpopular opinion. I HATE SLATE TILE. There I said it. Any of it. Any color. Any shape. Floor. Backsplash. Bathroom. It just isn't my jam. When we first bought our home, I assumed we would just match the wood floors around the rest of the house and slowly replace the rooms with carpet or slate flooring. I like a consistent flooring throughout each level. We live in an older colonial home so it is not open floor plan. I think the floors being the same throughout would be it feel less like a maze and transition smoothly.
The people who owned our home before us didn’t keep any information on the wood floors they had installed, nor any extra for us to use to match. We had flooring companies search near and far to try to find the wood flooring used. I realized finally, that my floors could not be consistent and I had to come up with another solution for my distain of the slate floors.
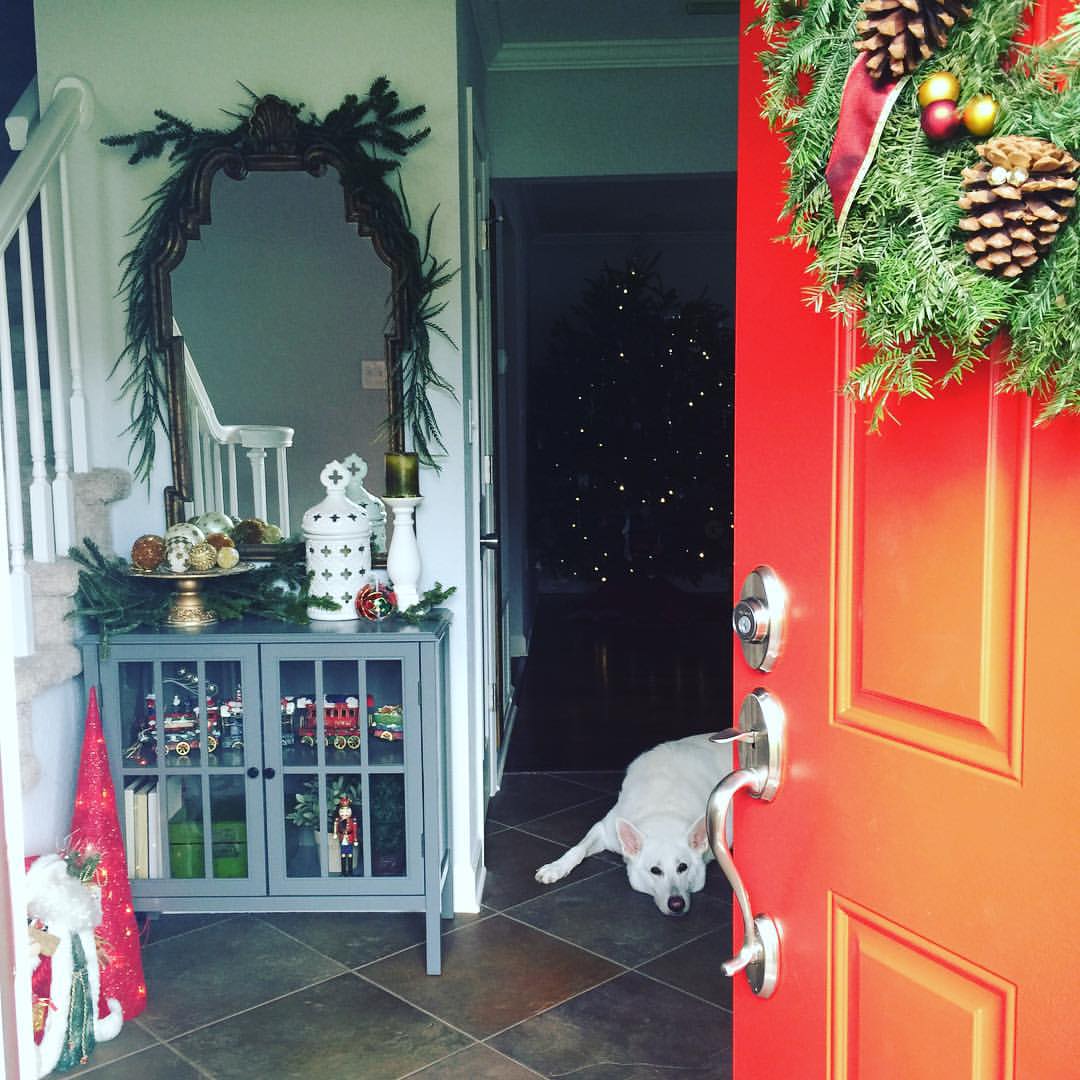
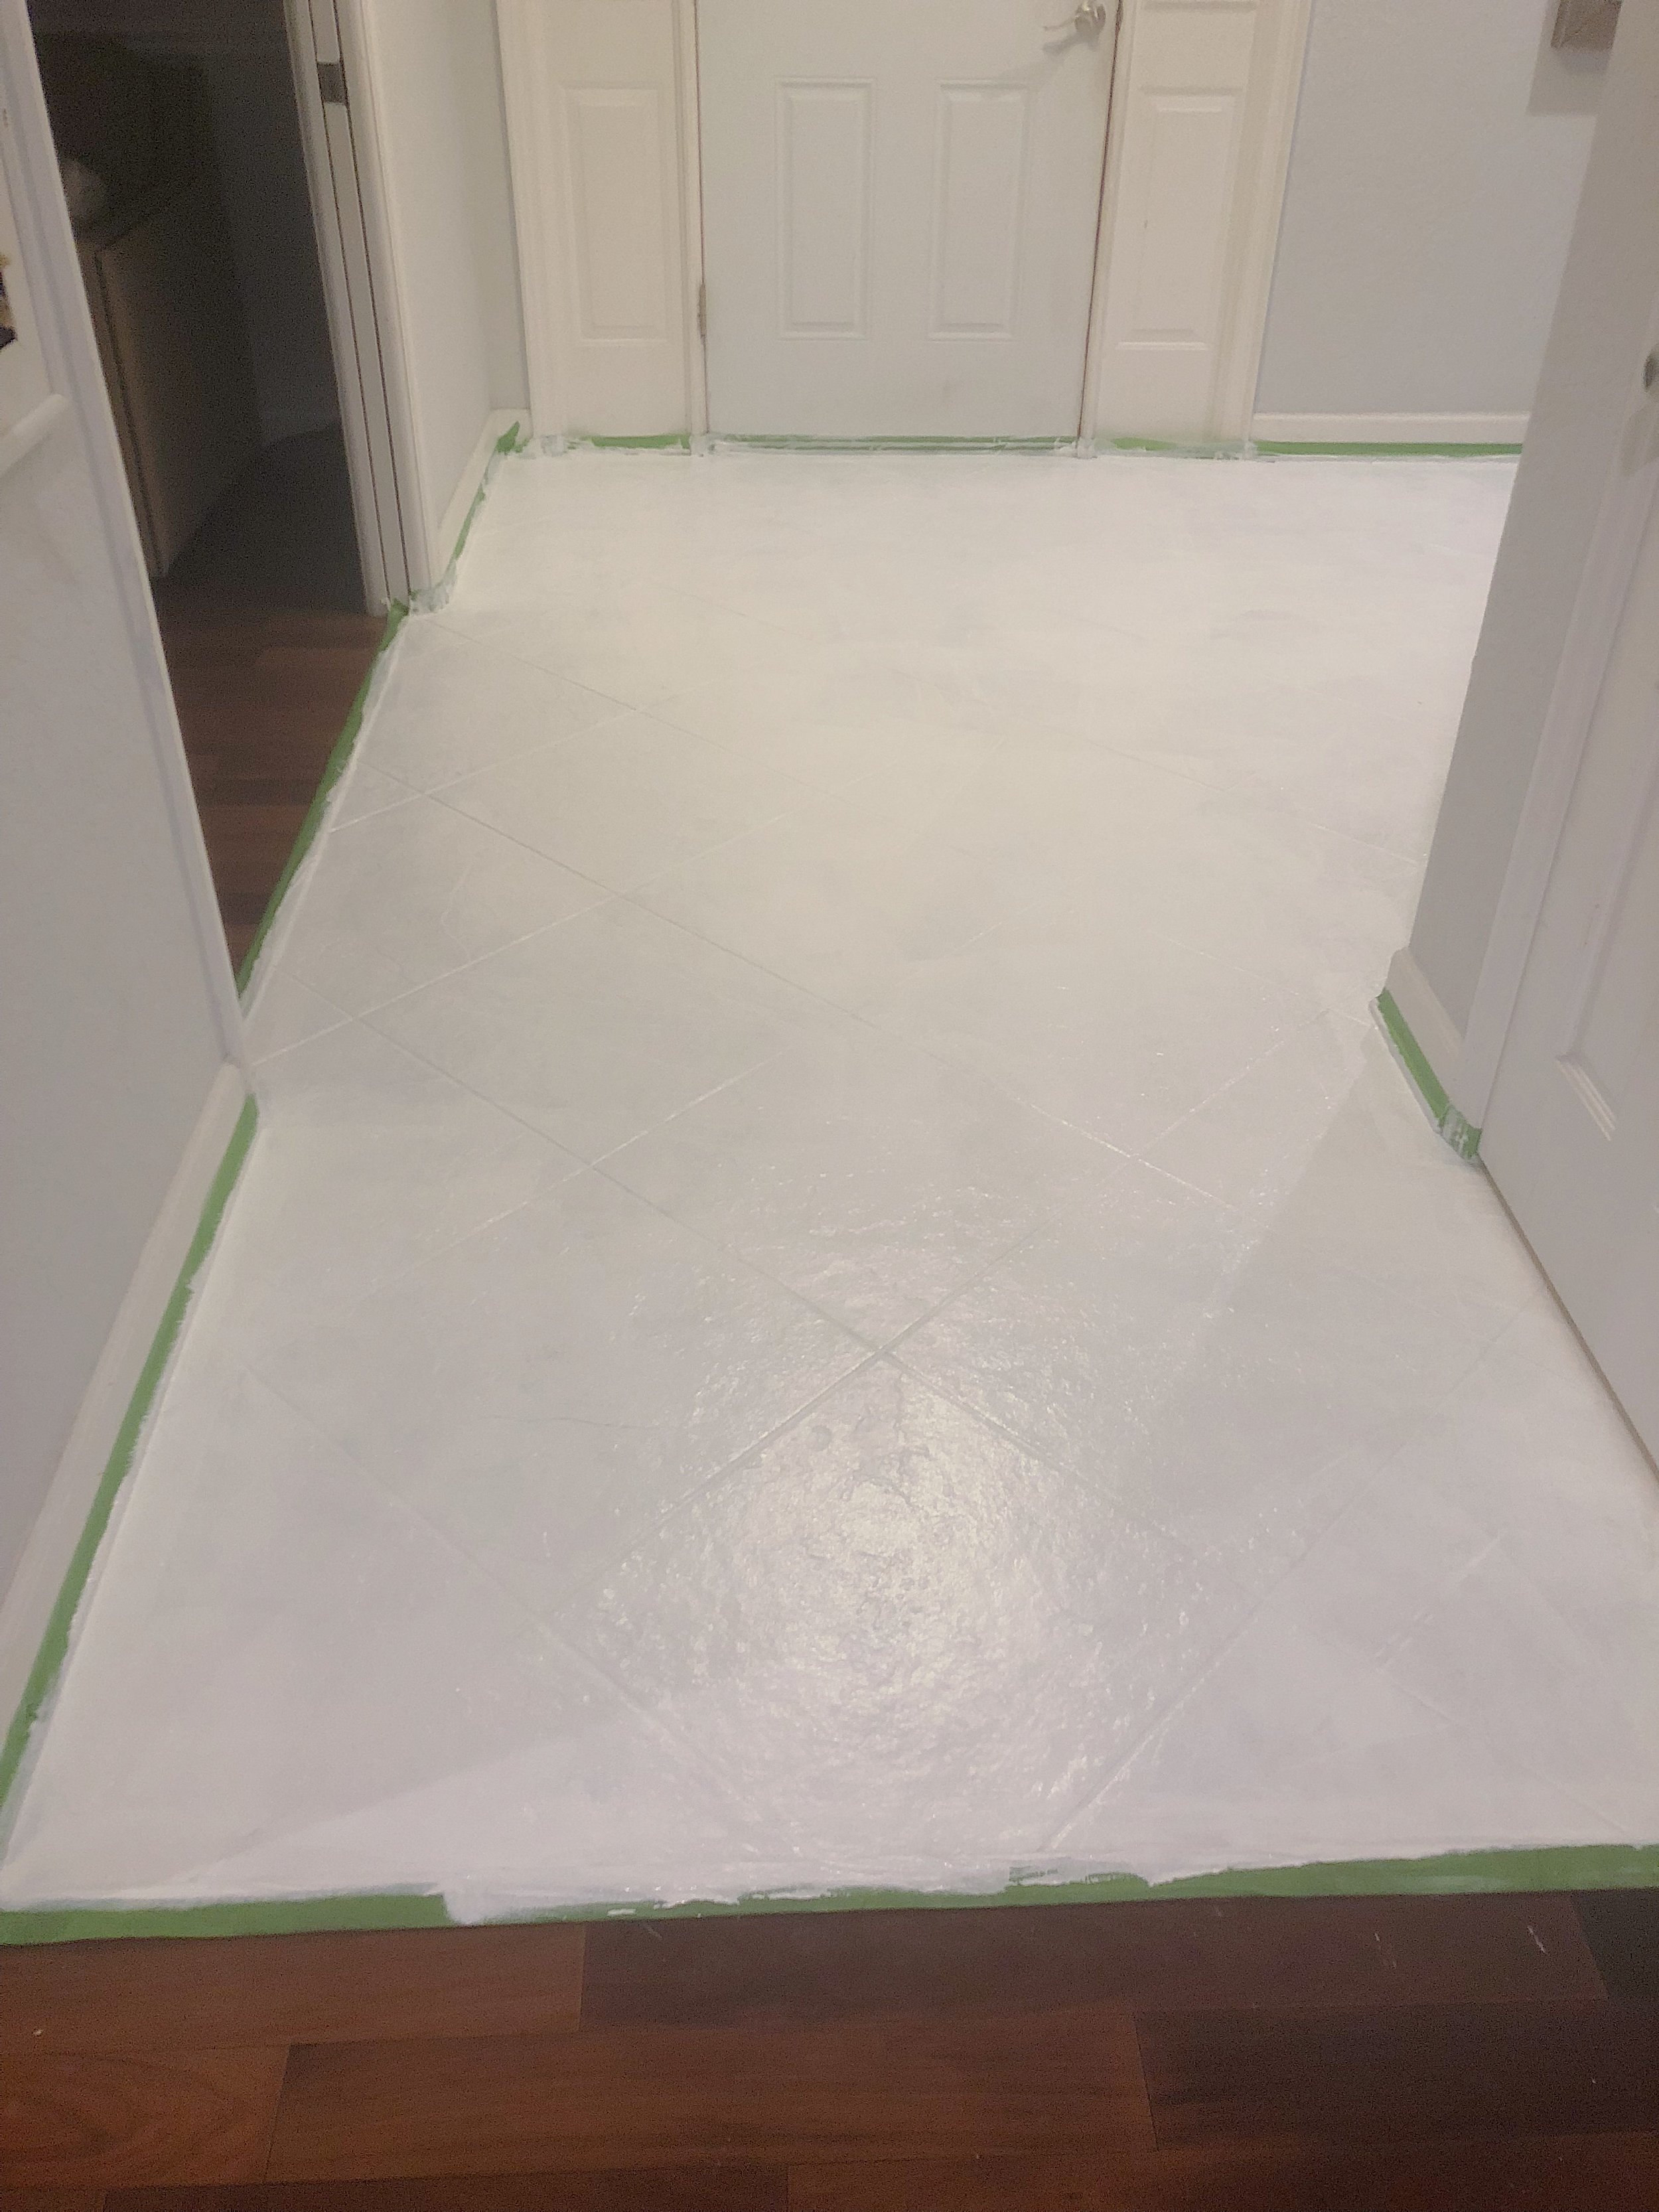
BEFORE:

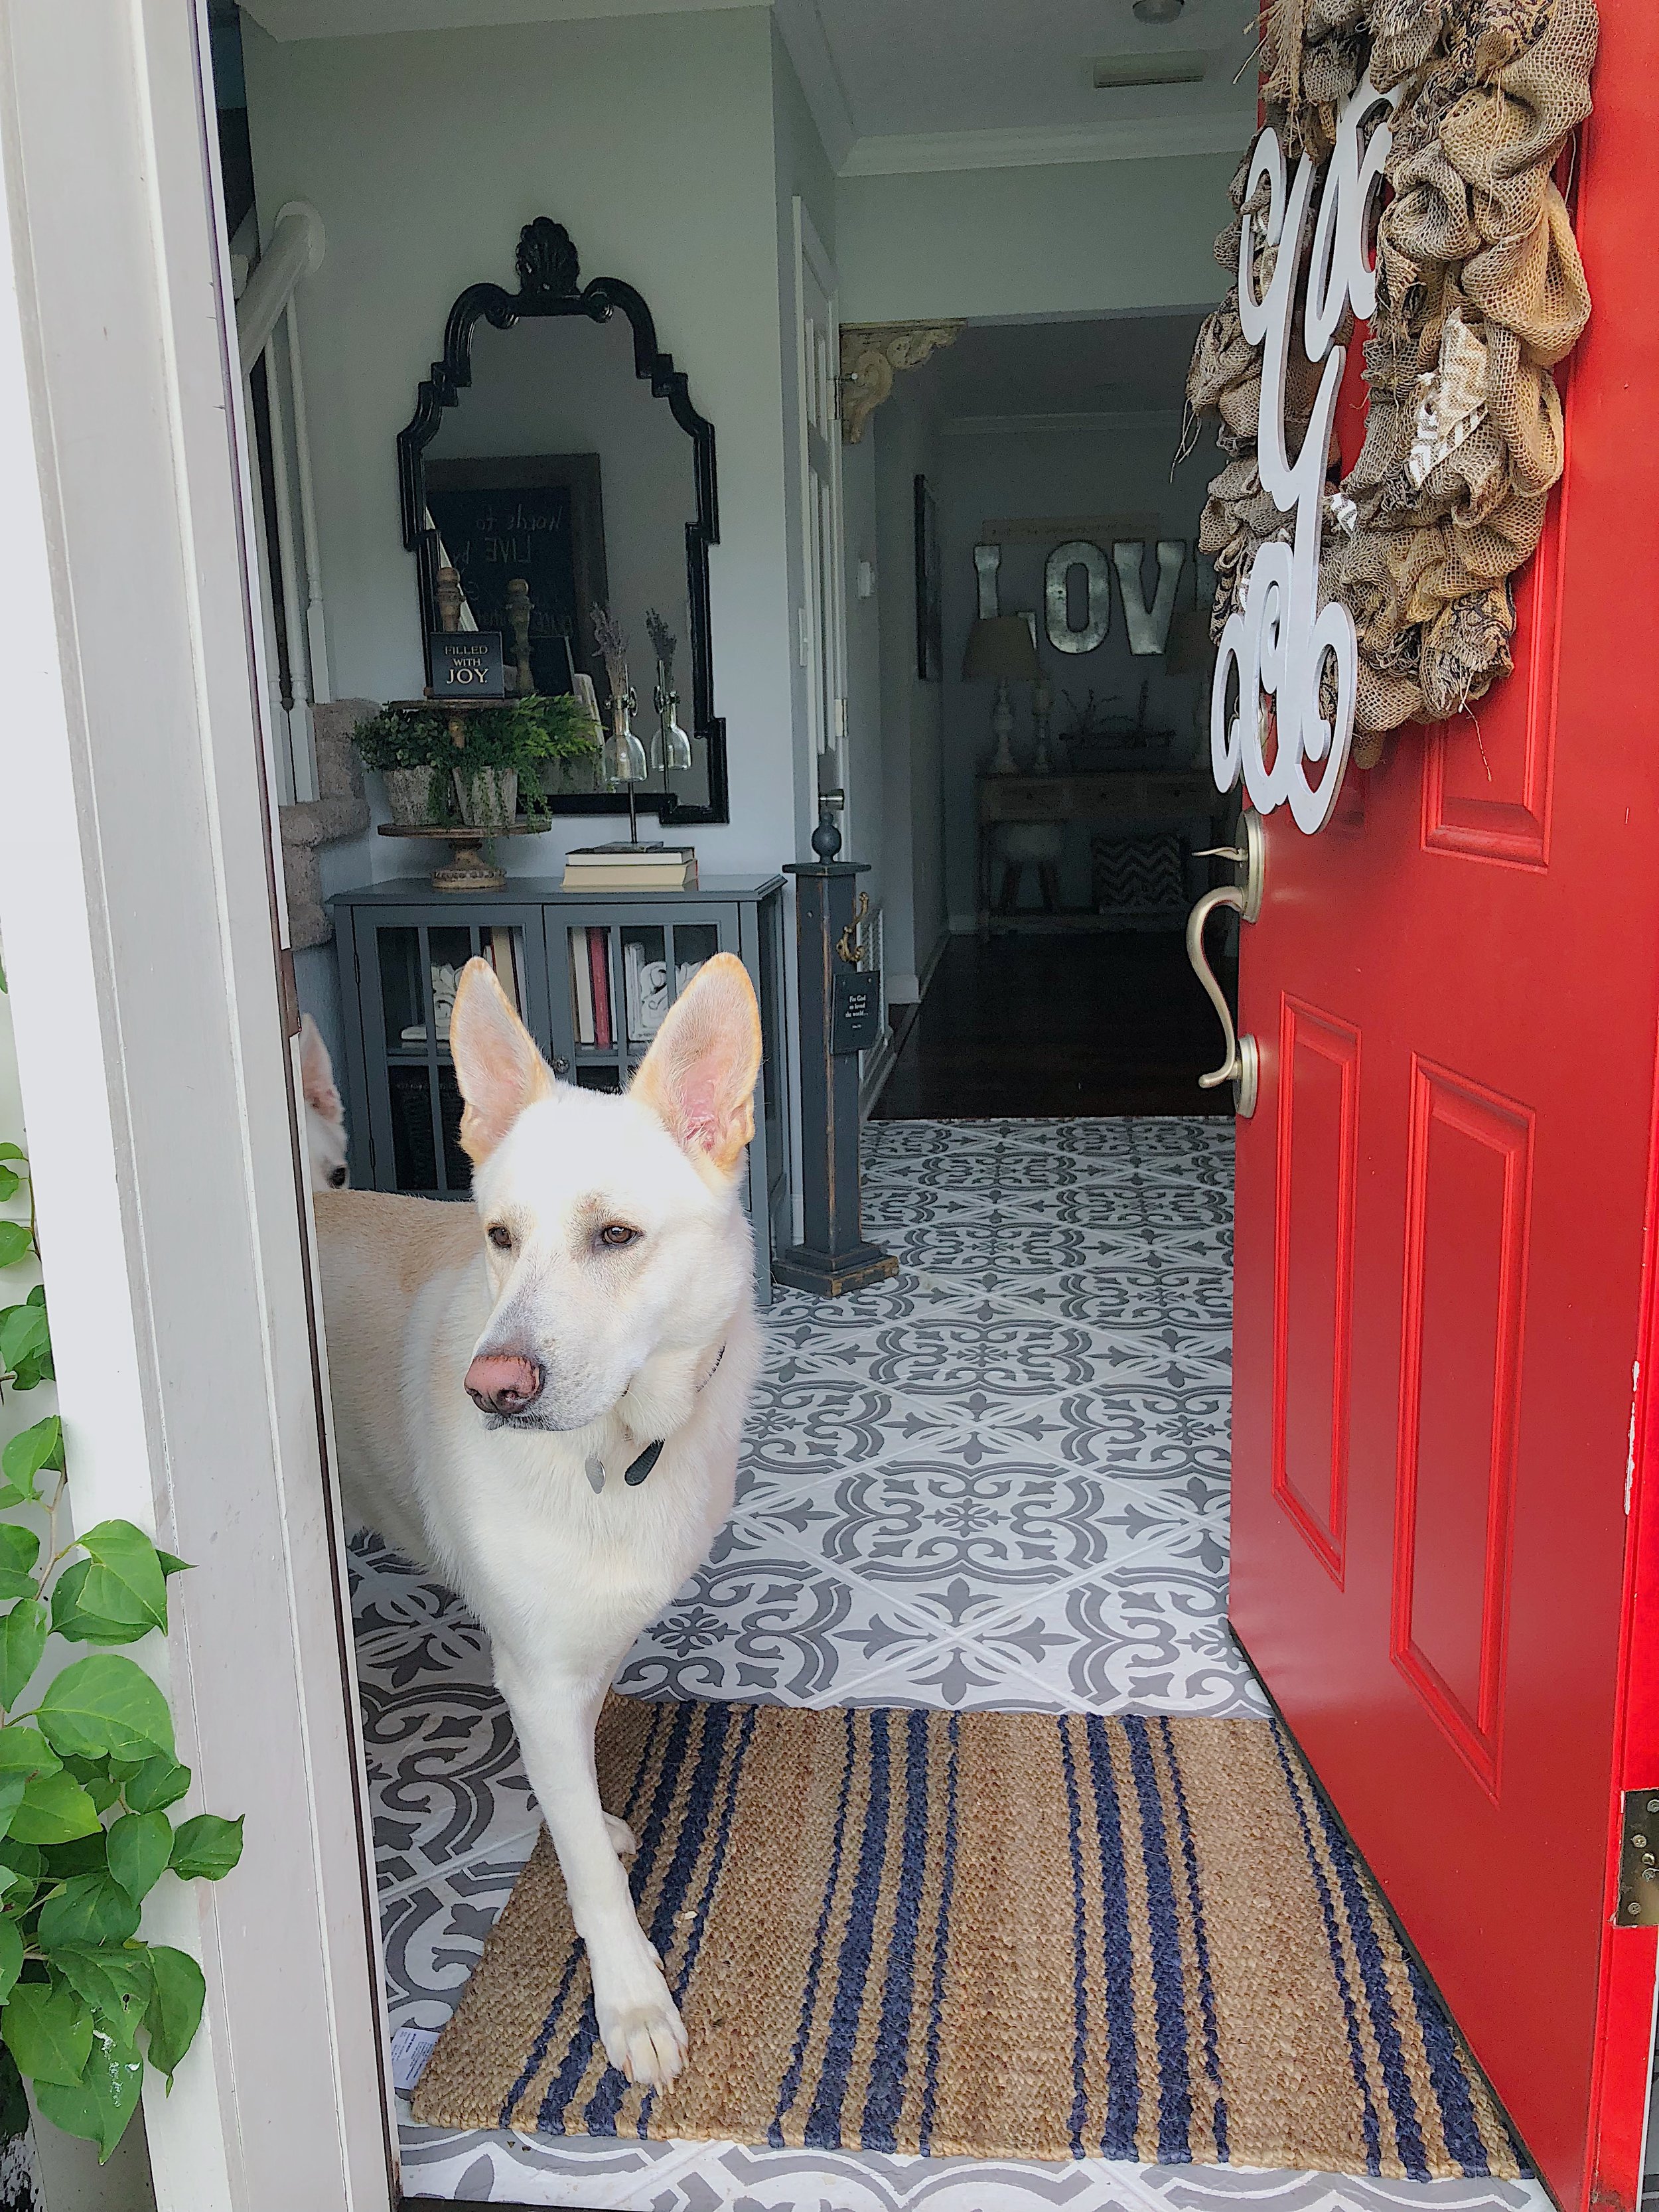
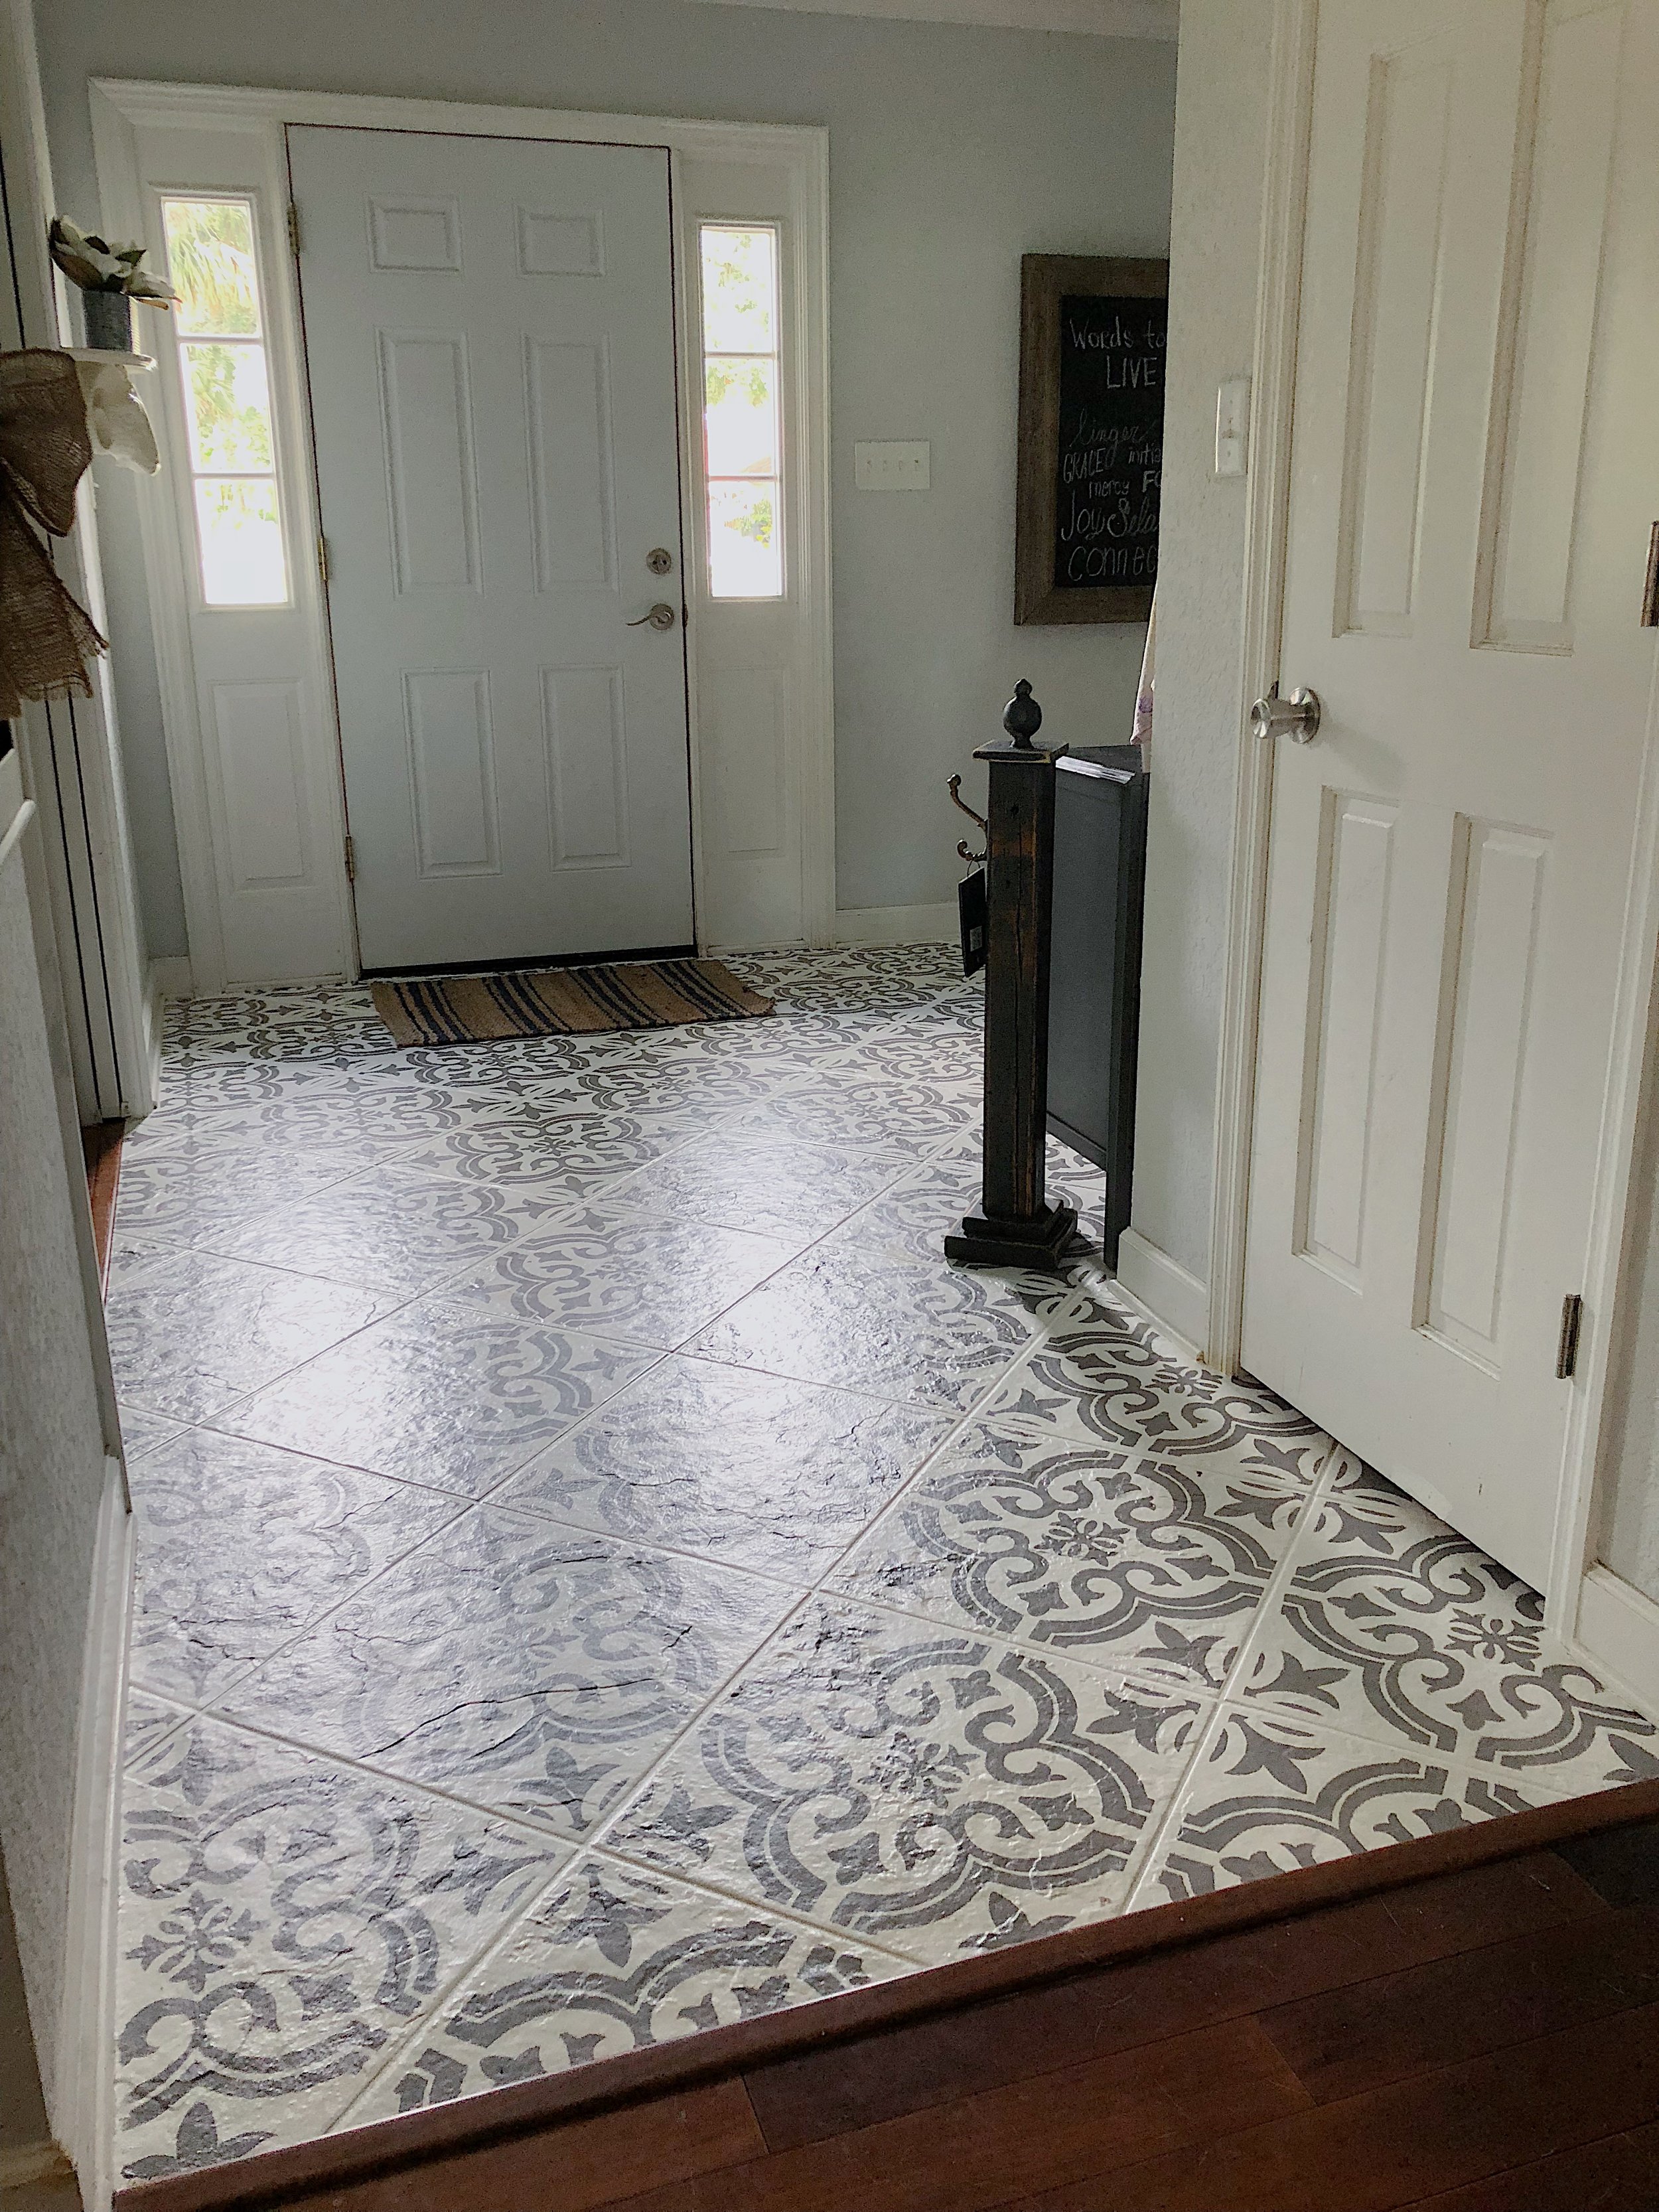
AFTER:

I decided pretty easily and on a whim that I would just paint my floors. I looked up a few tutorials. It seemed like a low risk project since I could easily replace or cover the flooring if I absolutely hated it. The first step for me was to vacuum my floors, and then scrub them with vinegar. Not sure if that’s an official way to do it but I did. I then taped off the baseboards and started painting the primer. I used KILZ ADHESION Base and PRIMER. After about an hour I moved on to the base color with an extendable roller. It’s important to note that even if the primer dries it will still absorb all foot prints and marks. It won’t be wipeable because the whole point of the primer is to be sort of sticky and absorbent.
I used a Porch Floor Paint for both the base and the gray stencil colors. I was going from a dark to light so I needed a lot of coverage. I did fours coats of the base color. I could’ve even done more but I was sick of the drying time wait game. I let it dry 45 mins-1 hour in between coats. The longer the better but as you can see by my horrible pictures, I was working in a short window of time at night so little feet and dog paws wouldn’t ruin my work.
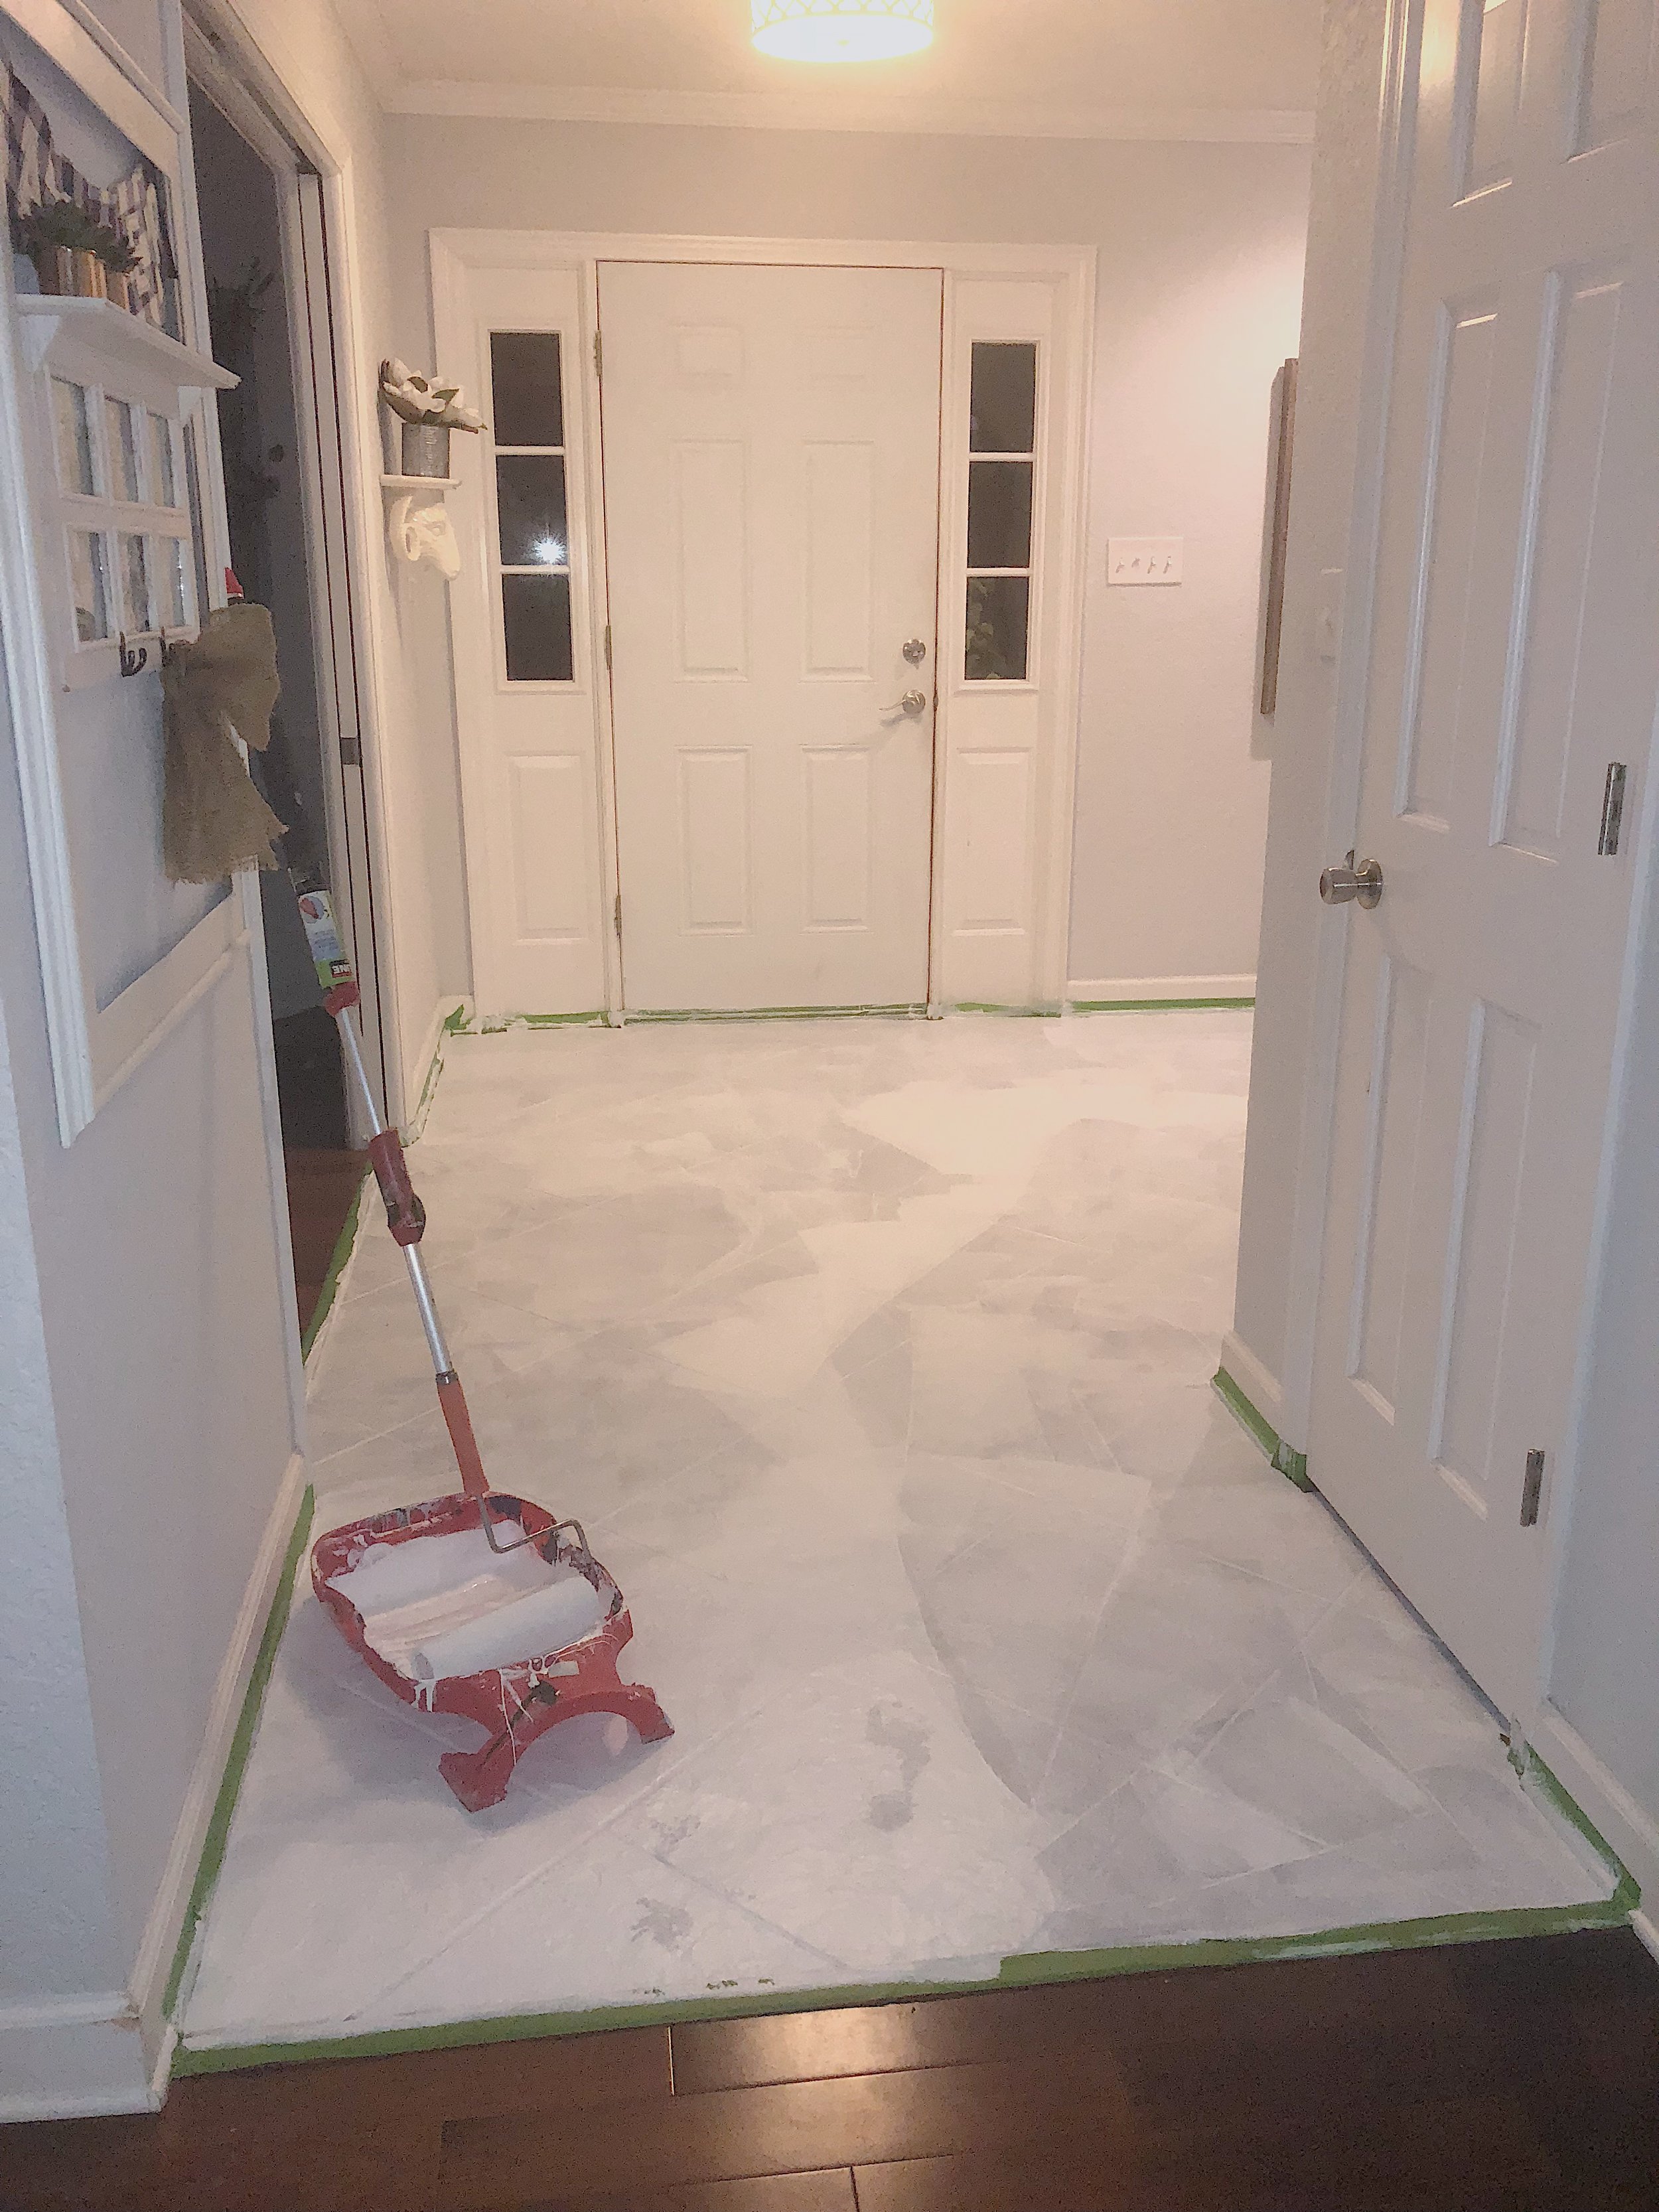
Notice my feet prints? Yes I stepped on it in between primer coats with socks. It is more of a sticky bun texture and my socks would stick to the floor but I had to step on it to paint. I just tried to think ahead so I would never paint myself into a corner. I’d have to carry the paint pan too since I would need to have a place to put my roller at the end so I could remove my socks to walk on my wood floors. Juggling it all was a bit tricky.


These pictures are from forever ago if you haven’t noticed (my old stairs!) So here’s the most vague tutorial ever. I googled “stencil” and when I found one I liked, made sure it came in the size of my existing tiles (measure your tile). It’s as simple as lightly taping down your stencil into position and using a stencil brush to apply the top color by tapping incessantly until you go mad.

Repeat 4,000 times.

Try doing all the whole tiles first. I recommend getting two stencils if you are doing a spot this big. Make sure your stencil has as little paint as possible on the underneath part from your last tile or it will leave marks on the next tile. As you get to the edges, cut your stencil starting with leaving larger pieces and dwindling down to the smallest. It is much easier than trying to fold it or than not having the stencil all the way down on the floor. After all the stencil work is done, allow it to dry for a while. Go back with a small painting brush (think kids size) and do touch ups with the original base color. This part will seem like it will never end and leave you knees throbbing. Do it anyway. I did do 3 coats of polyurethane so seal it off. Try not to walk on it for 2 days after.

Things I learned:
Less is more paint on a stencil brush.
Start in a spot less seen so by the time you get the hang of it you’ll be in the center of the room.
There are no short cuts. It’s tedious and miserable and you will develop carpal tunnel.